

A bicycle crash in New York City can turn an ordinary ride into a confusing and painful experience within seconds. Whether the collision involved a turning vehicle, an opening car door, a pothole, or another hazard, the immediate goal is simple: protect your health and preserve the information that may disappear quickly.
After urgent needs are addressed, speaking with a Ward Law New York bicycle accident lawyer may help a rider understand the practical issues that can follow a serious crash. The right next steps often depend on the injury, the people involved, available evidence, and whether a public agency may have played a role.
Why The First Few Hours Matter
Stress and adrenaline can make an injured rider feel clearer or less hurt than they actually are. At the same time, skid marks can fade, vehicles can leave, weather can change, and nearby camera footage may be overwritten. A short, steady checklist can reduce confusion without asking you to make legal conclusions at the curb.
New York City continues to treat cyclist safety as a public concern, and its bicycle crash data and safety resources show why street design, traffic behavior, and rider protection remain important issues. Citywide information can provide context, but it does not determine who was responsible for one specific crash.
Step One: Move Away From Danger When Possible
If you can move without worsening an injury, get yourself and your bicycle out of an active travel lane and onto a sidewalk or other safer location. Ask a bystander to help make the area visible, especially after dark or in heavy traffic. Broken glass, loose bicycle parts, and debris can create additional hazards for everyone nearby.
Do not force yourself to stand or move if you have severe pain, numbness, weakness, dizziness, possible head trauma, or suspected neck or back injuries. Stay as still as possible and wait for emergency responders.
Step Two: Call 911 And Seek Medical Help
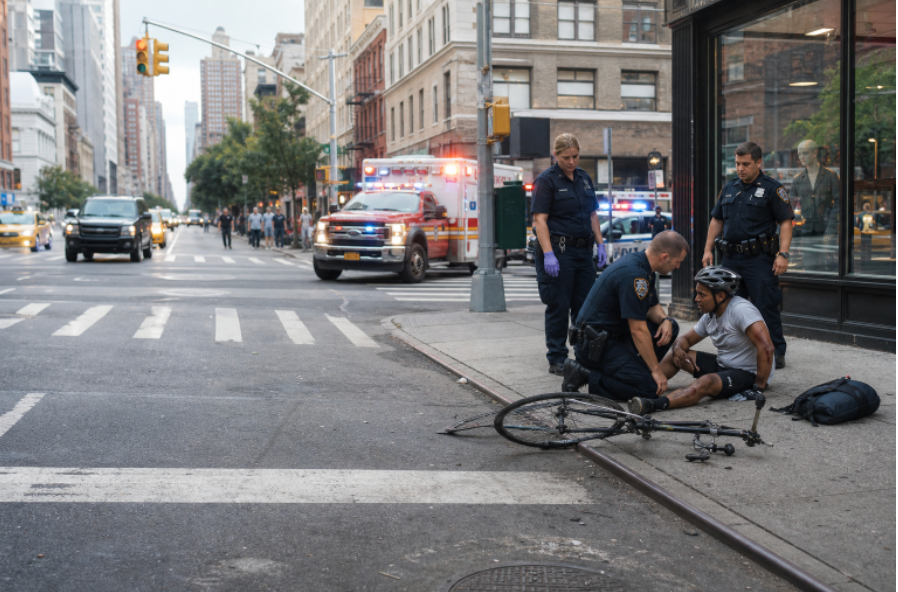
Call 911 when anyone is injured, traffic is blocked, a driver appears impaired, the driver leaves, or the scene feels unsafe. Request medical assistance for warning signs such as loss of consciousness, confusion, severe bleeding, chest pain, trouble breathing, vomiting, worsening headache, or weakness in an arm or leg.
A medical evaluation can identify injuries that are not obvious at the scene, including concussions, fractures, internal injuries, and soft-tissue damage. Give responders a factual account of what happened, but avoid guessing about speed, fault, or medical outcomes you cannot know.
Step Three: Exchange And Collect Basic Information
When it is safe, collect the driver’s name, phone number, license plate number, insurance details, and a description of the vehicle. If there are witnesses, ask for their names and preferred contact information. A neutral witness may later remember details that neither rider nor driver noticed in the moment.
Look around for possible video sources, including businesses, apartment buildings, buses, delivery vehicles, and nearby intersections. Do not argue, threaten anyone, or apologize just to ease an uncomfortable conversation. A polite, factual approach is usually the safest one.
Step Four: Document The Scene Safely
Take Useful Photos
Use your phone to photograph the bicycle, vehicle, license plate, helmet, clothing, visible injuries, road surface, lane markings, traffic signals, signs, debris, and the wider intersection. Wide shots establish the setting, while close-up photos can show damage or details such as a cracked helmet or bent wheel.
Make A Quick Written Record
As soon as you can, note the date, time, weather, street names, nearest intersection, direction of travel, and sequence of events. A short voice memo can work if writing is difficult. Keep the record focused on observations rather than assumptions about who was at fault.
Step Five: Preserve The Bicycle And Safety Gear
Keep the bicycle, helmet, lights, clothing, shoes, bag, and other equipment in their post-crash condition until you have photographed them thoroughly. Do not discard a damaged helmet or rush into repairs before documenting the condition of the bike. Store damaged items somewhere dry and secure.
Save repair estimates, purchase receipts, bike rental charges, rideshare costs, replacement gear costs, and transportation expenses. These records can help show the practical impact of the collision.
Step Six: Create A Medical And Daily-Life Record
Keep copies of medical notes, diagnostic results, prescriptions, bills, physical therapy records, and appointment summaries. A simple daily journal can also be useful. Record pain levels, sleep disruption, mobility limitations, missed events, trouble riding or working, and the help you need at home.
Follow the care plan from your medical provider and report any changing symptoms promptly. Trying to push through pain may make recovery harder and can leave important changes in your condition undocumented.
How To Handle Insurance Calls
An insurance adjuster may contact you soon after the crash. You can keep early conversations brief and factual: identify yourself, confirm basic contact information, and avoid speculation. Do not guess about the full extent of injuries, future treatment, lost income, or fault before you have complete information.
Read every release, medical authorization, recorded-statement request, or settlement document carefully before signing. A fast offer may not account for delayed symptoms, continuing treatment, property damage, or time away from work.
Common Questions About Fault
Fault is often more complicated than it appears at the scene. A driver’s turn, an open door, a blocked bike lane, a traffic signal, poor visibility, or the actions of more than one road user may all matter. A rider can still have options even when the facts are disputed, or responsibility may be shared.
If the driver leaves, call 911, provide the best description you can, and preserve any photographs, witness accounts, or camera leads. Avoid making a final judgment based only on the first few minutes after impact.
When A City Street Or Public Agency Is Involved
Extra issues can arise when a crash involves a city-owned vehicle, public transit, a roadway defect, construction activity, or another government agency. Deadlines and notice rules may differ from those of an ordinary claim. The time limits for civil cases and notices of claim explain why it is important to identify a possible public entity quickly.
Do not rely on a general deadline for your own situation. The agency involved, the type of claim, and the date of injury can all affect what action is required.
A One-Page Crash Checklist
1. Move away from traffic if it is safe to do so.
2. Call 911 and request medical help when needed.
3. Give a clear, factual account to responders.
4. Exchange driver information and gather witness contacts.
5. Photograph the scene, injuries, bicycle, vehicle, and road conditions.
6. Preserve damaged gear and save repair and travel receipts.
7. Seek follow-up medical care and keep treatment records.
8. Save insurance messages and review documents before signing.
9. Check promptly for special deadlines involving public agencies.
Conclusion
A bicycle crash can leave a rider shaken and uncertain, but a practical response can bring order to a difficult moment. Prioritize safety, obtain medical care, preserve evidence, and avoid rushed decisions. Clear records will not change what happened, but they can make the facts easier to understand while you focus on recovery.
